- Get link
- X
- Other Apps
This Nugget project is sponsored by The Home Depot. Unfortunately I glued my fingers every other penny.
 Remodelaholic Tips For Installing A Penny Tile Backsplash Floating Shelf
Gravity has a tendancy to take over if you try to install this backsplash before the glue dries.

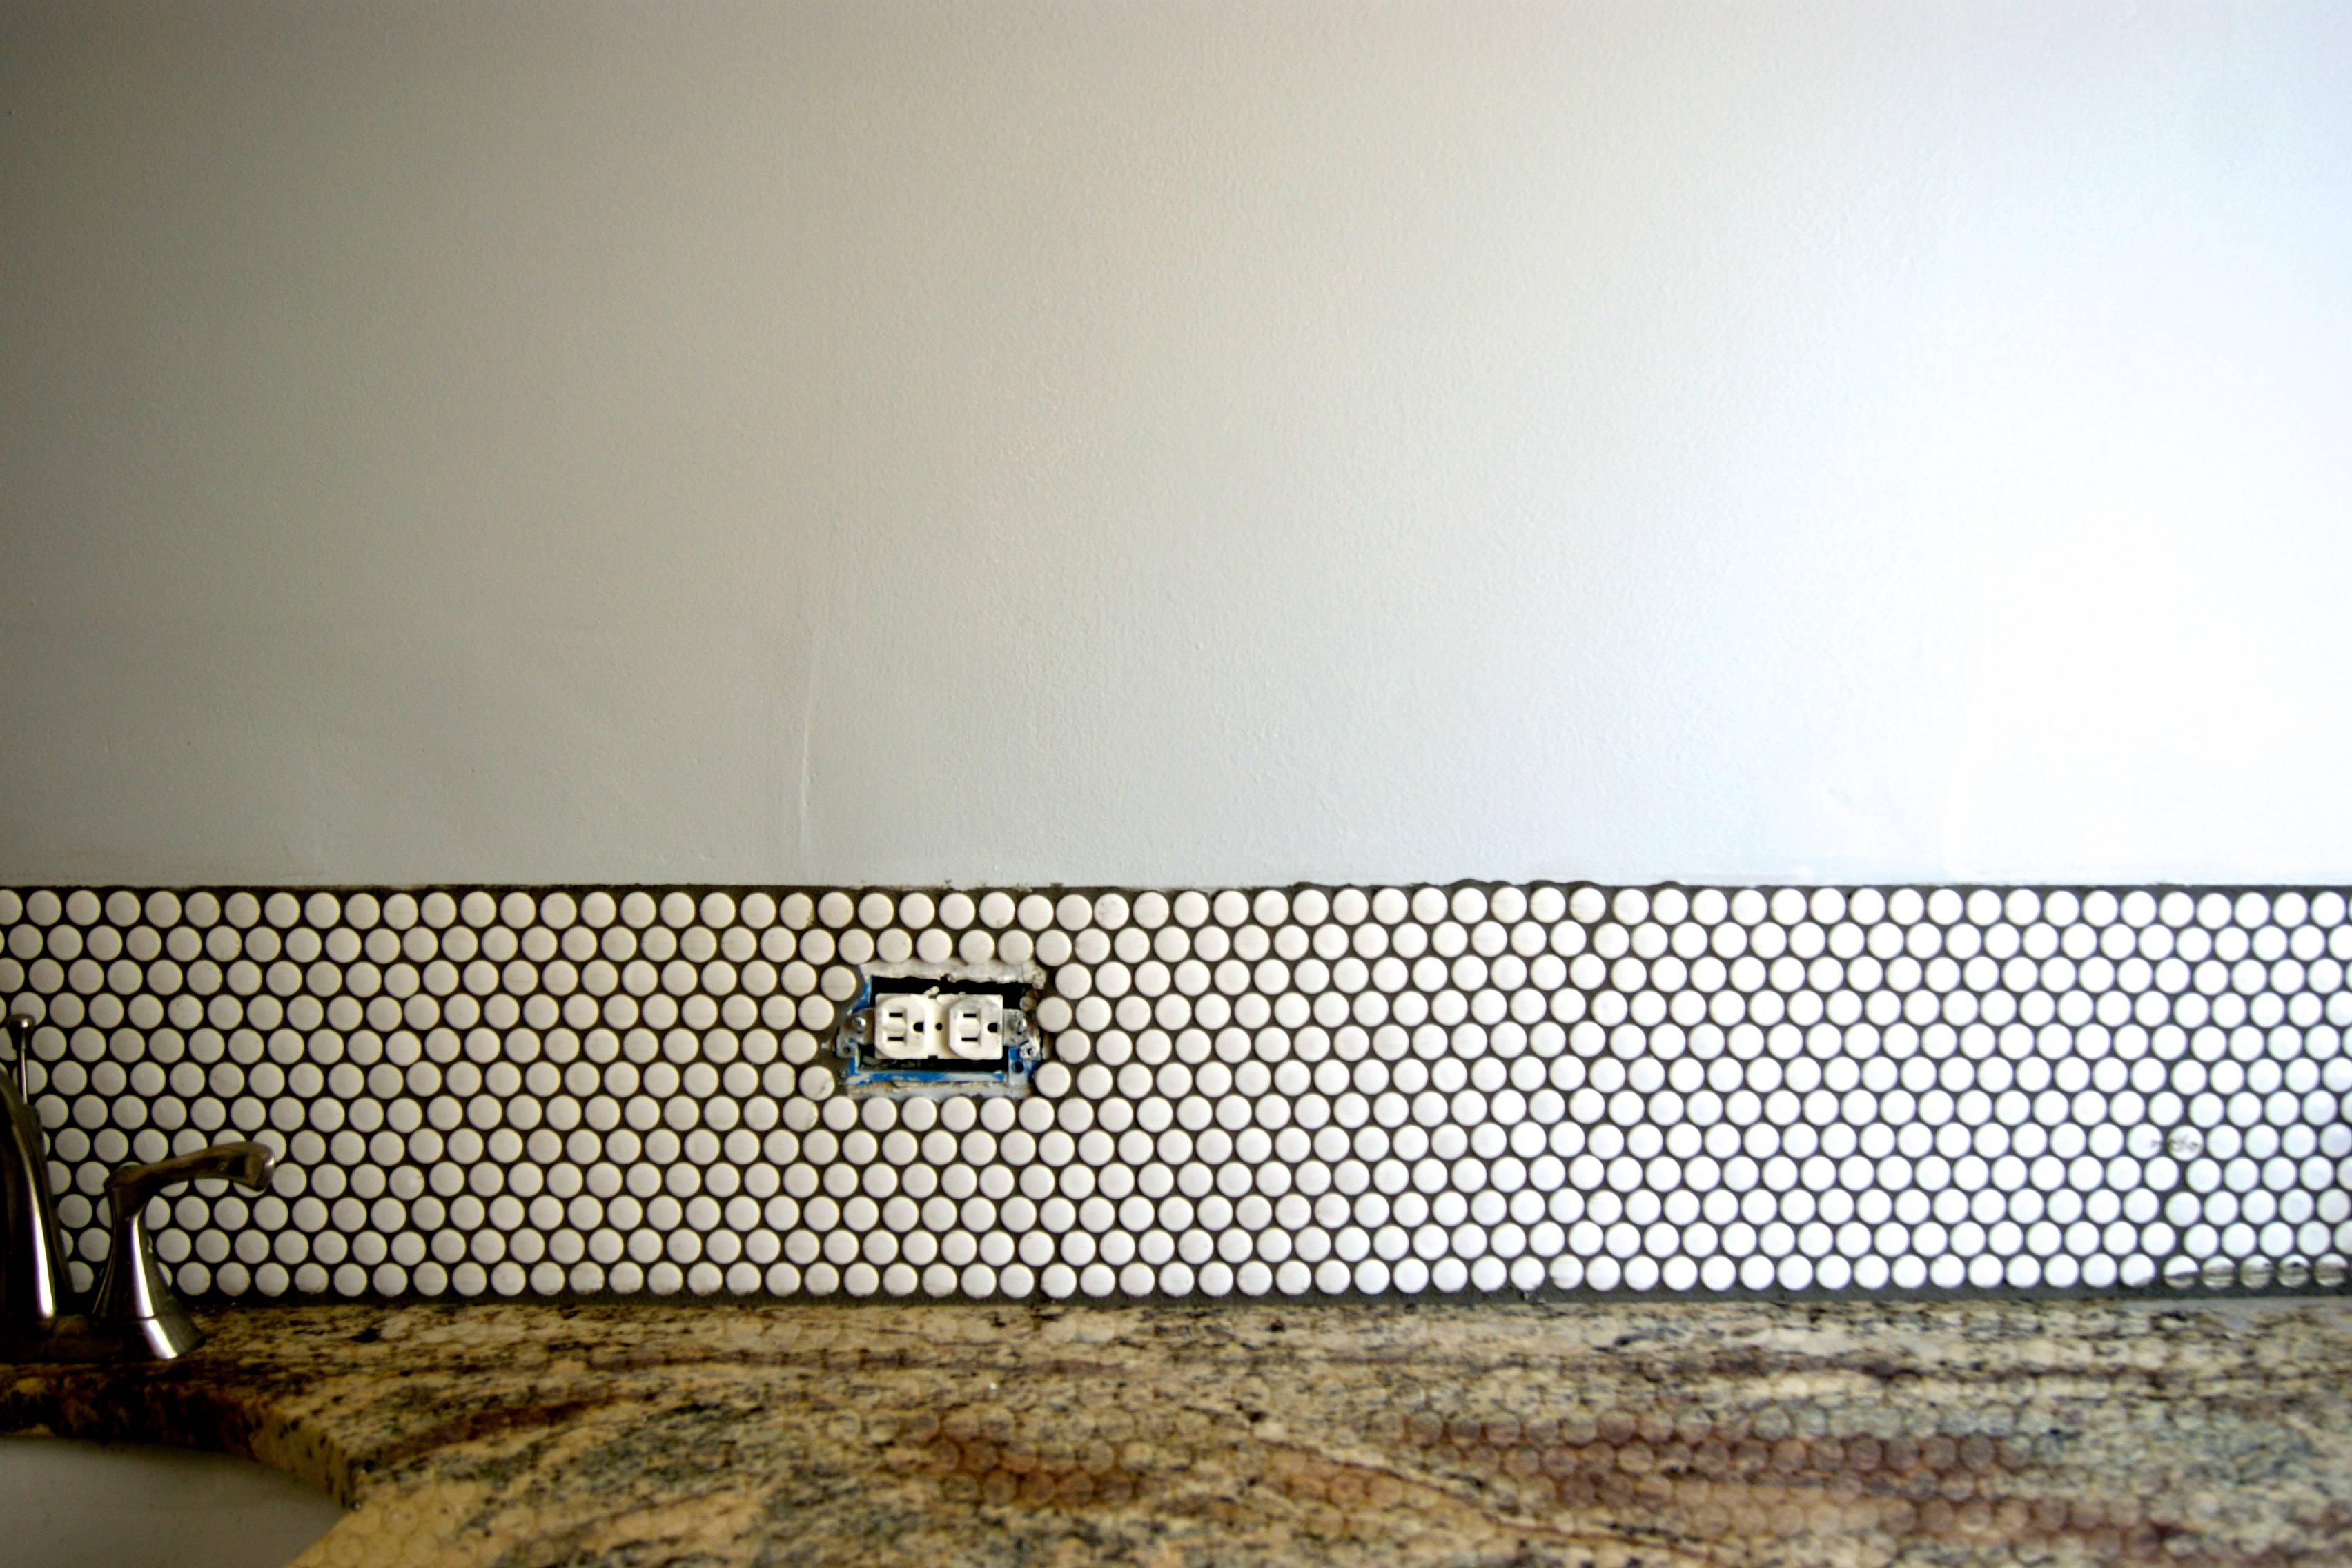
How to install penny tile backsplash. This is where I started with a plain wall. They have several shapes and types so it can fit the style you desire. Its classic versatile inexpensive and one of the easiest types of tile to install yourself.
Measure the length and width of your backsplash area and then determine how many pennies youll need to complete your project. The benefits of penny tile are plentiful. One side of the mat is exposed adhesive and the other side has a paper covering sort of like a sticker.
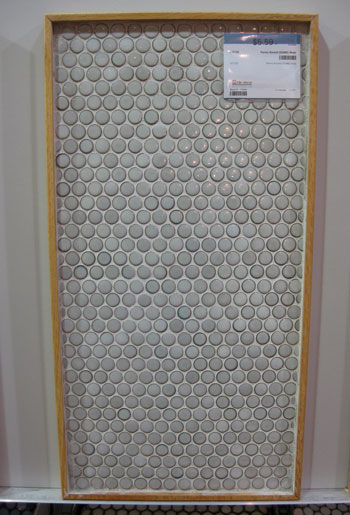
Many tile stores sell them in squares or sheets so installing the tiles one round at a time isnt necessary. We then spread out the coins in the wood and poured our epoxy. Prep Clear Mosaic Mounting Sheets.
Apply Water Proof Tile Mastic. I chose to start in the corner up against the bathtub. Here are a few tips.
One thing youll find about working with a tile. Apply Pennies To Wall. Unfortunately when we had our countertops installed we ordered a small backsplash that comes part way up the wall.
Thinking of penny tiling. A bold contrasting kitchen with black metal cabinets white open shelving and black and white penny tile backsplash. Using accent tile trims is the most common way to finish a kitchen backsplash edge.
Mix And Apply Tile Grout. Apply your tile and space like you would normal tile installed on. Some types of trim are bullnoses flat liners chair rails pencil liners and so on.
Installing penny tiles can seem daunting but it doesnt necessarily need to be. Tips for Installing a Penny Tile Backsplash. Prep Clear Mosaic Mounting Sheets.
While porcelain is the most popular material penny tiles can also be found in a range of other materials like glass ceramic stone metal and even cork. That will help keep a straight line. Follow the entire series from the beginning here.
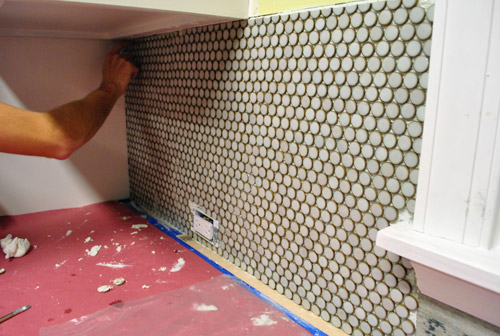
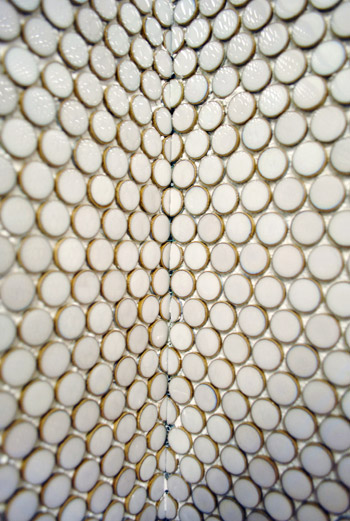
We also played around with each sheet of tile after squishing them into the thinset scooching. We gathered up our pennies did the math and made sure we had enough. Its really important to place penny tiles in a way that makes the line where each sheet meets less obvious so we found that a staggered pattern was the best method for us to achieve a seamless result.
When the adhesive has dried after 24 hours use WD-40 to clear out excess glue from the coin surfaces. When youre ready to install your tile you simply pull the paper covering off exposing the adhesive underneath. Glass penny tiles are a great beautiful choice for almost any space.
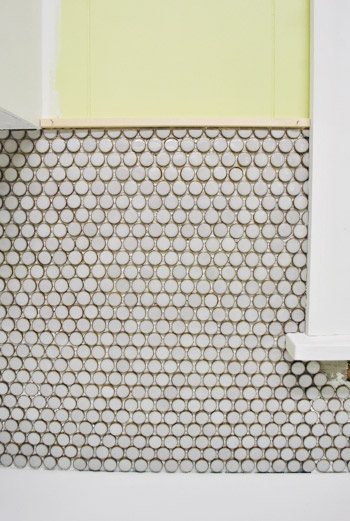
Remember to leave a penny space empty at the attaching to your wall areas to allow for screw holes. Glazed porcelain penny tile mosaics can either have a satin or glass finish and often come in a classic white. Jun 27 2012 - I have slowly been working away at the penny tile backsplash that I am installing in our kitchen.
That way your eye doesnt catch one seam and follow it all the way across the room more on that here. Adding small pieces of leftover tiles or colored glass pieces to create a boundary for the backsplash will make it look beautiful. Tile backsplash when there is existing countertop backsplash.
Installing Penny Tile - Fix It Up Woman Penny tile backsplash Penny tile Penny backsplash. Use only a little thinset- if you have too much it will squish out between the tiles and make it harder to grout. Like any backsplash tile project you will need to prep your walls by wiping them down with a damp rag and allowing time for it to dry.
It will take around 5 hours for the entire gluing process to be done. We are thinking about how to add a backsplash to our kitchen. Fill In The Spaces.
Make sure to use a spacer between the penny tile and your countertop. Using a V Notch trowel put a thin layer of thinset down then lay out a sheet of penny tile setting it by pressing down over the sheet with a tile float. Its a fairly common option that folks consider for the bathroom floor but theres another place we love to see it used.
We cut the wood to size and glued it together. Thats where you will screw the luan to the wall Step 4. We are overhauling a 1972 Bell Travel Trailer.
We let it dry as per the instructions on the label and then hung our penny backsplash.
 The Nugget Installing A Tile Backsplash And How To Perfectly Cut Penny Tile Vintage Revivals
 Remodelaholic Tips For Installing A Penny Tile Backsplash Floating Shelf
Wooden Dowel Edging Tips For How To Install Penny Tile Penny Tile Penny Round Tiles Penny Round Backsplash
 Grout Grout Let It All Out Young House Love Penny Tile Penny Tile Backsplash Young House Love
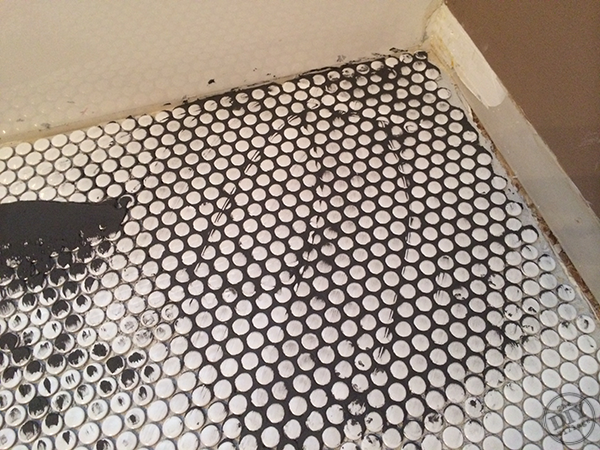
 Cutting Penny Tile Can Be Tricky What Worked For Us Young House Love
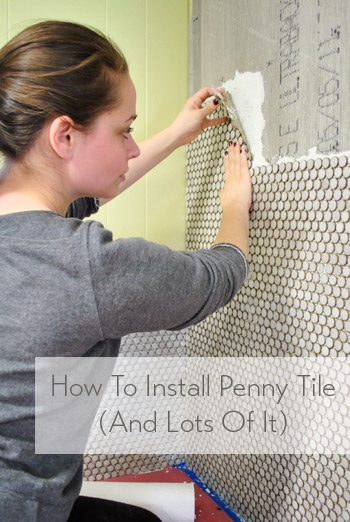 How To Install Penny Tile And Lots Of It Young House Love
 How To Install Penny Tile The Diy Village
 Tips For Installing Penny Tile Advice From A Perfectionist Foxy Oxie
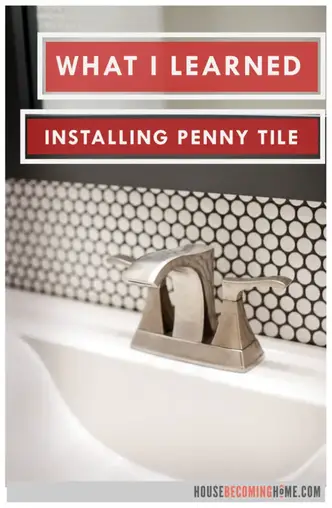 Four Tips Before You Install Penny Tile House Becoming Home
 Four Tips Before You Install Penny Tile House Becoming Home
 How To Install Penny Tile Youtube
 How To Install Penny Tile And Lots Of It Young House Love
 How To Install Penny Tile And Lots Of It Young House Love
 How To Install Penny Tile And Lots Of It Young House Love
Comments
Post a Comment